How to Deploy a Next.js App on Hostinger VPS (Step by Step)
Deploy a Next.js app on Hostinger VPS step by step: Ubuntu setup, Node.js 24, PM2, Nginx reverse proxy, free SSL with Certbot, and fixes for common errors.
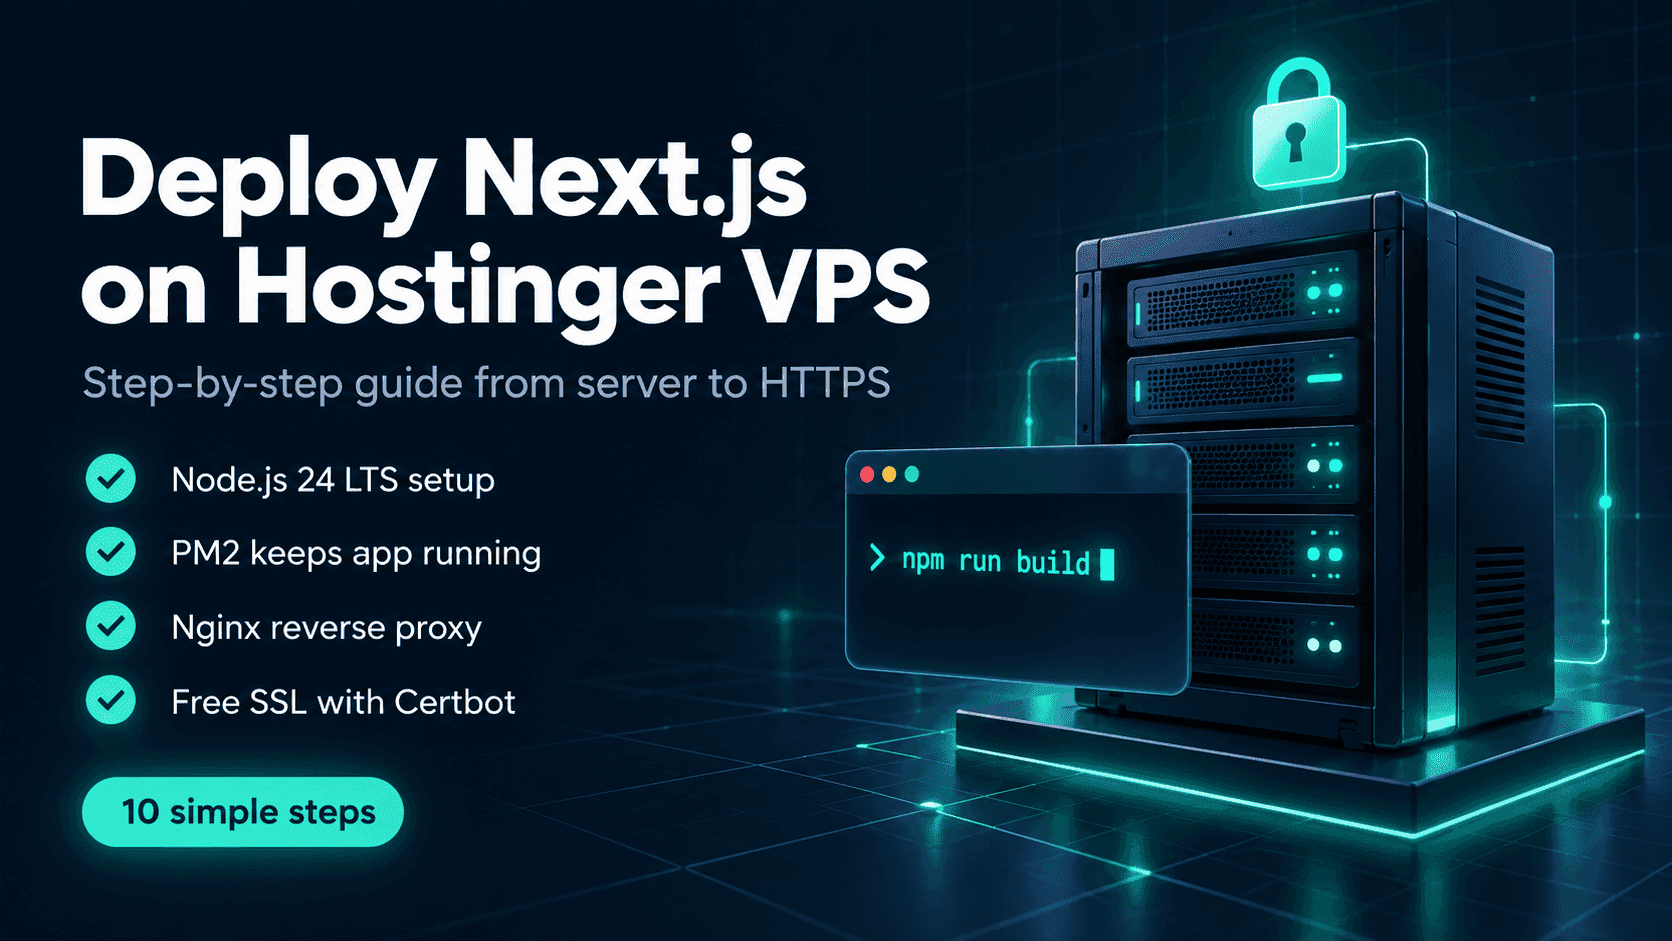
October 15, 2026 · Hosting Guide · 13 min read
How to Deploy a Next.js App on Hostinger VPS (Step by Step)
A complete, copy-paste walkthrough: fresh Ubuntu server to a live Next.js site on your own domain, running on PM2 behind Nginx with free HTTPS.
Affiliate disclosure
Some links in this post are my Hostinger referral links. If you buy through them (or use code WEBHOST2026), I may earn a commission at no extra cost to you. I only recommend it because this is a setup I genuinely use and trust for Next.js projects.
What you will build
By the end of this guide, your Next.js app will run as a production Node.js server on a Hostinger VPS. Every Next.js feature works this way, including server components, API routes, Server Actions, ISR and middleware, because you are running the real Next.js server rather than a static export.
Here is the stack, from the internet down to your code:
- Nginx receives traffic on ports 80 and 443 and forwards it to your app.
- Certbot (Let's Encrypt) gives you a free SSL certificate that renews itself.
- PM2 keeps the Next.js process alive, restarts it if it crashes, and brings it back after a reboot.
- Node.js 24 LTS runs your app with
next starton port 3000.
This is the classic self-hosting setup I reach for when a Next.js project needs its own server, and it is the same pattern the Next.js docs describe as deploying to “any provider that supports Node.js”.
VPS or Hostinger's managed Node.js hosting?
Before you buy a VPS, know that Hostinger also offers Node.js web app hosting on its Business and Cloud plans. You connect a GitHub repo, and Hostinger handles the build, runtime and routing for you. If you just want a site live without touching a terminal, that is the simpler path.
Choose a VPS when you want full root access, need to run other things beside your app (a database, Redis, a cron worker, n8n), want several apps on one server, or simply want to learn how production servers really work. The trade-off is that a VPS is self-managed: updates and security are your job.
| You want… | Better fit |
|---|---|
| Push to GitHub and forget about servers | Business or Cloud plan (Node.js web apps) |
| Root access, custom software, a database on the same box | VPS (this guide) |
| Several Next.js or Node apps on one server | VPS (this guide) |
| Zero server maintenance | Business or Cloud plan |
Which Hostinger VPS plan do you need for Next.js?
Hostinger's VPS line has four KVM plans. All of them use AMD EPYC processors and NVMe storage, include free weekly backups, a dedicated IP, and full root access.
| Plan | vCPU | RAM | NVMe storage | Bandwidth | Intro price (24-month term) |
|---|---|---|---|---|---|
| KVM 1 | 1 | 4 GB | 50 GB | 4 TB | $6.49/mo (renews at $11.99/mo) |
| KVM 2 | 2 | 8 GB | 100 GB | 8 TB | $8.99/mo (renews at $14.99/mo) |
| KVM 4 | 4 | 16 GB | 200 GB | 16 TB | $12.99/mo (renews at $28.99/mo) |
| KVM 8 | 8 | 32 GB | 400 GB | 32 TB | $25.99/mo (renews at $49.99/mo) |
Prices taken from Hostinger's main (USD) VPS page in October 2026. The Pakistan site shows prices in PKR, and promotions change often, so the price at checkout is always the final word.
My recommendation: KVM 1 is enough for a single small-to-medium Next.js site, and 4 GB of RAM is comfortable for running next build on the server. Pick KVM 2 if you plan to host a database next to the app, run more than one project, or expect real traffic. You can upgrade later from your Hostinger account without starting over.
Before you start
- A Next.js app in a GitHub (or GitLab) repo that builds locally with
npm run build. - A Hostinger VPS. You can get one through my referral link and apply code WEBHOST2026 at checkout.
- A domain name you can edit DNS records for (a domain bought at Hostinger or anywhere else both work).
- A terminal with SSH. macOS and Linux have one built in; on Windows use PowerShell or Windows Terminal.
Throughout this guide, replace YOUR_SERVER_IP, example.com, my-next-app and the GitHub URL with your own values.
Step 1: Set up the VPS with Ubuntu
In hPanel, open your new VPS and run through the setup. Choose a plain Ubuntu LTS operating system template (Ubuntu 24.04 is a safe choice), pick the data center closest to your visitors, and set a strong root password. If you already have an SSH key, add it here; it is more secure than password login.
Hostinger also offers templates and an app catalog with software preinstalled. I use plain Ubuntu in this guide on purpose, so you understand and control every piece. Once setup finishes, copy the server's IP address from the VPS overview page.
Step 2: Connect over SSH and create a deploy user
Log in as root and update the system first:
ssh root@YOUR_SERVER_IP
apt update && apt upgrade -y
Running everything as root is risky, so create a normal user with sudo rights. I call mine deploy:
adduser deploy
usermod -aG sudo deploy
If you logged in with an SSH key, copy it to the new user so you can sign in as deploy with the same key:
rsync --archive --chown=deploy:deploy ~/.ssh /home/deployNow open a new terminal window and confirm you can log in as the new user before closing the root session: ssh deploy@YOUR_SERVER_IP. Every remaining step runs as deploy.
Step 3: Turn on the firewall
Ubuntu ships with UFW. Allow SSH first (so you do not lock yourself out), then enable it:
sudo ufw allow OpenSSH
sudo ufw enable
sudo ufw status
Hostinger also has its own firewall manager in hPanel. If you set rules there, make sure ports 22 (SSH), 80 (HTTP) and 443 (HTTPS) are allowed, otherwise your site and SSL setup will fail later in a confusing way.
Step 4: Install Node.js 24 LTS and Git
Ubuntu's default repositories often lag behind. Recent Next.js versions need Node.js 20 or newer, so install the current LTS line (Node.js 24) from the NodeSource repository:
curl -fsSL https://deb.nodesource.com/setup_24.x | sudo -E bash -
sudo apt install -y nodejs git
node -v
npm -v
If node -v prints a version starting with v24, you are ready. npm comes bundled with Node.js, so there is nothing else to install.
Step 5: Get your code onto the server
For a public repo, a plain clone works. For a private repo, create a deploy key on the server first so the VPS can pull your code without your personal GitHub password:
ssh-keygen -t ed25519 -C "hostinger-vps-deploy"
cat ~/.ssh/id_ed25519.pub
Copy the printed key, then in GitHub open your repo’s Settings, go to Deploy keys, add it, and leave write access unticked. Now clone the project:
cd ~
git clone git@github.com:your-username/my-next-app.git
cd my-next-app
Step 6: Add environment variables and build
Your .env files should not be in Git, so recreate them on the server. Next.js loads .env.production when you build and start in production:
nano .env.productionPaste your variables, save with Ctrl+O, and exit with Ctrl+X. Then install dependencies and build:
npm ci
npm run build
Important: variables that start with NEXT_PUBLIC_ are baked into the JavaScript at build time. If you change one later, you must rebuild, not just restart.
Do a quick test run with npm start, then from a second SSH session run curl -I http://localhost:3000. A 200 response means the app works. Stop the test with Ctrl+C.
Step 7: Keep the app running with PM2
If you close your terminal, a plain npm start dies with it. PM2 runs the app in the background, restarts it on crashes, and starts it again after a server reboot:
sudo npm install -g pm2
pm2 start npm --name "my-next-app" -- start
pm2 save
pm2 startup
The pm2 startup command prints one more line that begins with sudo env PATH=.... Copy that exact line and run it; it registers PM2 as a system service. Useful commands from here on: pm2 status, pm2 logs my-next-app and pm2 restart my-next-app.
Step 8: Point your domain to the VPS
In your domain's DNS settings (hPanel if the domain is at Hostinger), create or edit two A records:
| Type | Name / Host | Points to |
|---|---|---|
| A | @ | YOUR_SERVER_IP |
| A | www | YOUR_SERVER_IP |
Remove any old A or AAAA records for the same names that point elsewhere. DNS changes can take anywhere from a few minutes to several hours to spread. You can check progress by running ping example.com and seeing whether it returns your VPS IP.
Step 9: Set up Nginx as a reverse proxy
Nginx sits in front of Next.js, handles ports 80 and 443, and passes requests to your app on port 3000. Install it and create a site config:
sudo apt install -y nginx
sudo nano /etc/nginx/sites-available/my-next-app
Paste this config, replacing the domain with yours:
server {
    listen 80;
    server_name example.com www.example.com;

    location / {
        proxy_pass http://127.0.0.1:3000;
        proxy_http_version 1.1;
        proxy_set_header Upgrade $http_upgrade;
        proxy_set_header Connection 'upgrade';
        proxy_set_header Host $host;
        proxy_set_header X-Real-IP $remote_addr;
        proxy_set_header X-Forwarded-For $proxy_add_x_forwarded_for;
        proxy_set_header X-Forwarded-Proto $scheme;
        proxy_cache_bypass $http_upgrade;
    }
}
Enable the site, remove the default placeholder, test the config, and open the web ports in the firewall:
sudo ln -s /etc/nginx/sites-available/my-next-app /etc/nginx/sites-enabled/
sudo rm /etc/nginx/sites-enabled/default
sudo nginx -t
sudo systemctl reload nginx
sudo ufw allow 'Nginx Full'
If nginx -t reports that the syntax is ok, visit http://example.com. You should see your Next.js app, just without the padlock yet.
Step 10: Add free SSL with Certbot
Let's Encrypt certificates are free, and Certbot's Nginx plugin installs them and updates your config automatically:
sudo apt install -y certbot python3-certbot-nginx
sudo certbot --nginx -d example.com -d www.example.com
Enter your email, accept the terms, and Certbot does the rest, including redirecting HTTP to HTTPS on current versions. Certificates last 90 days and renew automatically; confirm renewal works with a dry run:
sudo certbot renew --dry-runOpen https://example.com. Your Next.js app is now live on your own Hostinger VPS.
How to deploy updates
Every time you push new code, the update is four commands. Save them as a small script so a deploy is one line:
nano ~/deploy.sh#!/bin/bash
set -e
cd ~/my-next-app
git pull
npm ci
npm run build
pm2 reload my-next-appchmod +x ~/deploy.sh
~/deploy.shBecause of set -e, the script stops if the build fails, so a broken build never replaces your running site. Once you are comfortable, you can trigger the same script from GitHub Actions over SSH for automatic deploys on every push.
Common errors and how to fix them
| Problem | Likely cause | Fix |
|---|---|---|
| 502 Bad Gateway | The app is not running, or it is on a different port than Nginx expects | Run pm2 status and pm2 logs my-next-app; confirm the app listens on 3000 |
| Build killed or “JavaScript heap out of memory” | The server ran out of RAM during next build | Add a swap file (below) or move to a plan with more RAM |
| Env variable undefined in the browser | NEXT_PUBLIC_ values are fixed at build time | Update .env.production, then rebuild and reload |
| Certbot fails to verify the domain | DNS not pointing to the VPS yet, or port 80 blocked | Wait for DNS, check A records, allow ports 80 and 443 in UFW and hPanel |
| Site is down after a reboot | PM2 startup was never registered | Run pm2 startup, run the line it prints, then pm2 save |
| Missing images or CSS with standalone output | public and .next/static are not copied into the standalone folder | Copy both folders, or use the default next start setup from this guide |
If builds keep running out of memory on KVM 1, a 2 GB swap file usually solves it:
sudo fallocate -l 2G /swapfile
sudo chmod 600 /swapfile
sudo mkswap /swapfile
sudo swapon /swapfile
echo '/swapfile none swap sw 0 0' | sudo tee -a /etc/fstab
How to get a Hostinger VPS with the referral code
- Open Hostinger through my referral link and go to VPS hosting.
- Pick a plan (KVM 1 for one small app, KVM 2 if you want room to grow) and choose a billing period. Longer terms have the lowest monthly rate.
- At checkout, enter the code WEBHOST2026 if the discount is not already applied, and check the final price and renewal price before paying.
- Complete payment, then open the VPS in hPanel and follow Step 1 of this guide.
Hostinger offers a 30-day money-back guarantee on its VPS plans, so you can test this setup and cancel within that window if it is not right for you. Check the current refund policy for the exact terms.
FAQ
Can I host a Next.js app on Hostinger shared hosting?
Not on the entry-level shared plans. Hostinger's Node.js web app hosting, which supports Next.js, is available on its Business and Cloud plans. For full control, a VPS like the one in this guide works with every Next.js feature.
Is Hostinger KVM 1 enough for Next.js?
For a single small-to-medium site, yes. KVM 1 has 1 vCPU and 4 GB RAM, which handles next build and normal traffic for most portfolio, blog and business sites. Choose KVM 2 if you add a database, run several apps, or expect heavy traffic.
Should I use output: 'standalone'?
It is optional. Standalone output creates a smaller, self-contained server folder, which is great for Docker. For a simple VPS setup, the default next start used in this guide is easier because you do not have to copy the public and static folders by hand.
Do I need Docker to deploy Next.js on a VPS?
No. Docker is useful if you want identical environments everywhere, but Node.js, PM2 and Nginx directly on Ubuntu is simpler to set up and debug, especially for your first deployment.
Can I run more than one Next.js app on one VPS?
Yes. Run each app on a different port (for example 3000 and 3001), start each one with PM2 under its own name, and give each its own Nginx server block and Certbot certificate. To change the port, start the app with next start -p 3001.
Is a VPS better than Vercel for Next.js?
It depends on what you value. Vercel gives you zero server work and a global edge network; a VPS gives you a fixed monthly cost, full control and room for databases and background jobs. Many developers keep small projects on Vercel and move to a VPS once they need more control.
Useful links
Self-hosting Next.js looks intimidating the first time, but it is really ten repeatable steps. Once you have done it once, every new project takes minutes, and you fully own the server it runs on. If you get stuck on a step, check the error table above first; most deployment problems come down to the port, DNS, memory or a missing PM2 startup.